Clean & Simple With Love Card
Cards | CTMH | Uncategorized

Can you believe two posts in one day? Amazing! I couldn’t get enough of this great sketch so I made another card. I used Tresa’s wonderful tutorial to make the faux stitching. (Gotta love CTMH’s white core cardstock!) And I love using my Piercing Tool Kit. The Blush cardstock is stamped with another Universal Backgrounds stamp in Blush ink. The sentiment is from the Say it in Style set.
Since I wanted my hearts to match the ink color, I used the brush side of my Blush marker to color a piece of Blush cardstock. Then I punched out the hearts using a small heart punch and added them with some 3-D Foam Tape. The monochromatic color was inspired by Kristina’s sample.
Stay tuned for more…



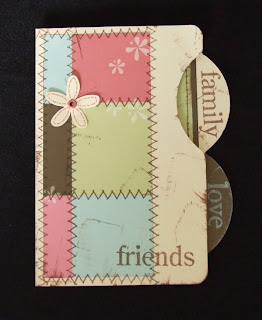
"Love" it! I need to learn more about the faux stitchingWhat is the small script background stamp? I can't wait to get my Say it in Style set! Thanks for posting and for the inspiration!
Love the faux stitching and the added touch of the dots 😉
I'm in the class too! Love the connection od the music sheet stamp with the sentiment. Very cute!
Lisa I love the simplicity of the card.
Wow! I never suspected that's how you stitched that card. thank you for pointing the way to the tutorial.
MUST duplicate. I LOOOOOOOOOOOVE it!
As always lisa your artwork blows me away! Great job!
I LOVE this card!
Love that faux stitching and that script background stamp! Awesome CAS card
great card! the stitching is perfect 🙂